01
Shower and Soaking Tub
12×24 in tile 30×60 cm
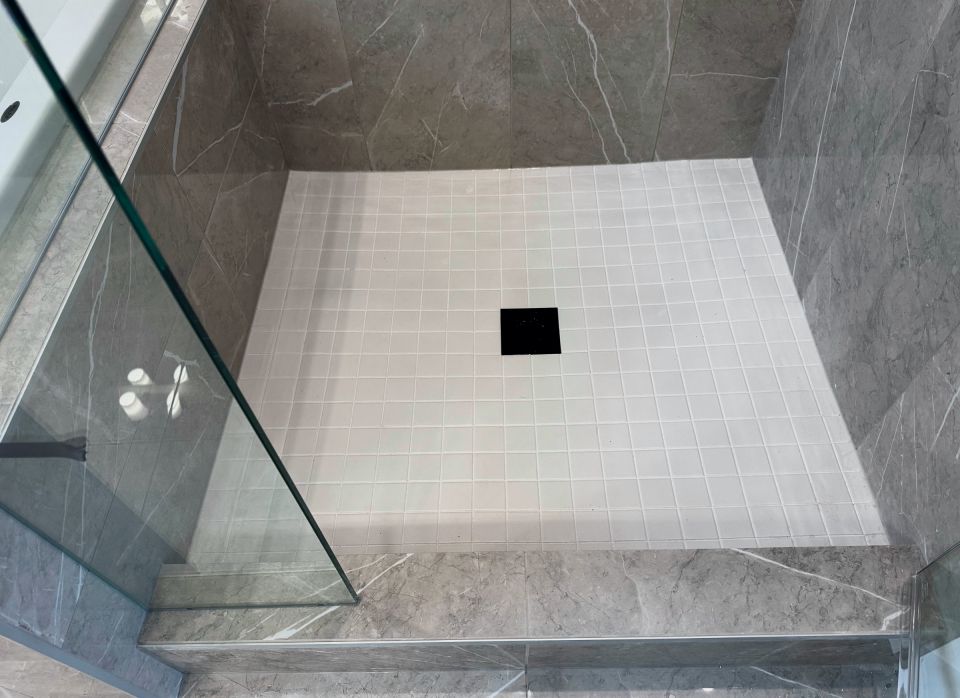
Marble-look tile runs from floor to ceiling, with a white mosaic shower floor. The tub surround is finished with metal corner trim.

 Tile Studio
Calgary and area
Custom showers, full bathroom renovations and large-format tile. One craftsman, from the first measurement to the last grout line.

Mitred corners on niches, curbs and edges, where the job calls for no visible trim.
Courses set to a laser line, so the layout carries around every corner.
Demolition, framing, waterproofing, slope and tile handled as one job.
Selected work
01
12×24 in tile 30×60 cm
Marble-look tile runs from floor to ceiling, with a white mosaic shower floor. The tub surround is finished with metal corner trim.
02
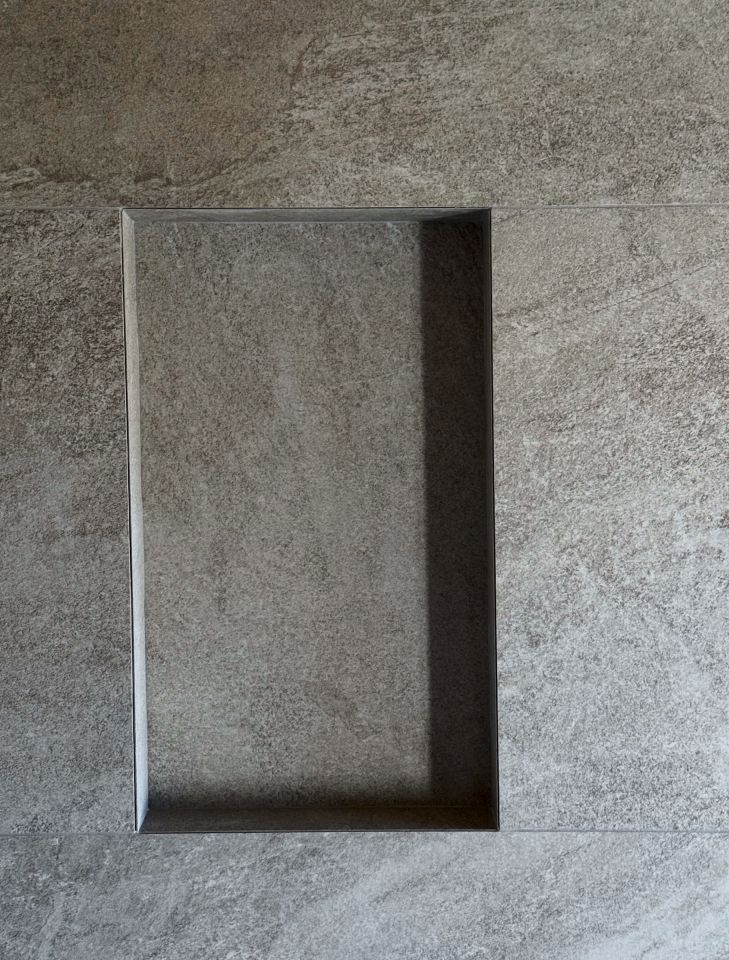
24×48 in tile 60×120 cm with 5×5 in 13×13 cm
Large-format tile meets small square tile in a seamless transition. The niche is mitred at 45°, the drain is concealed, and the curb has mitred edges.
Floor and curb 13×13 in 33×33 cm. Shower floor mosaic 2×2 in 5×5 cm.
03
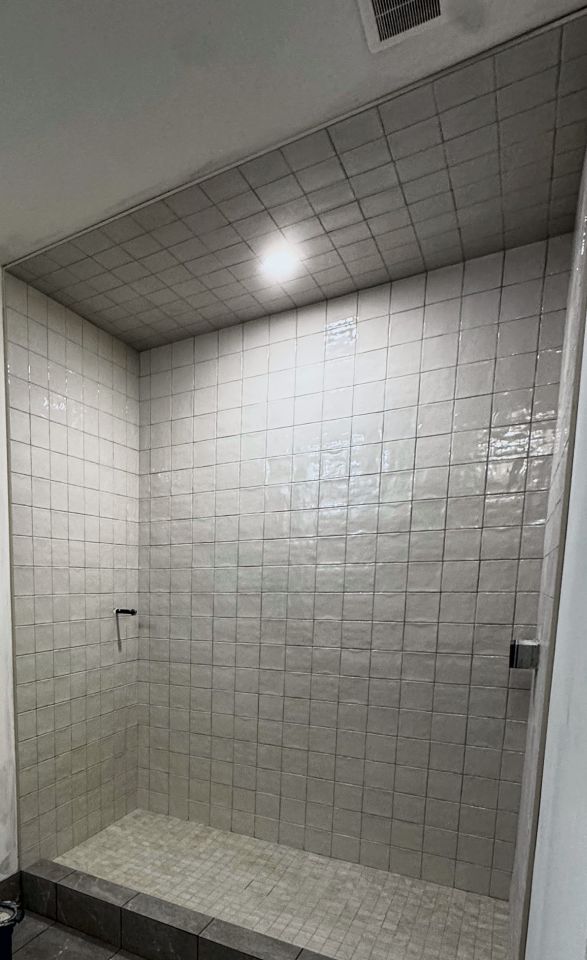
Glazed square tile on the walls and ceiling. Every course is set to a laser line, so the joints stay true from one surface to the next.
04
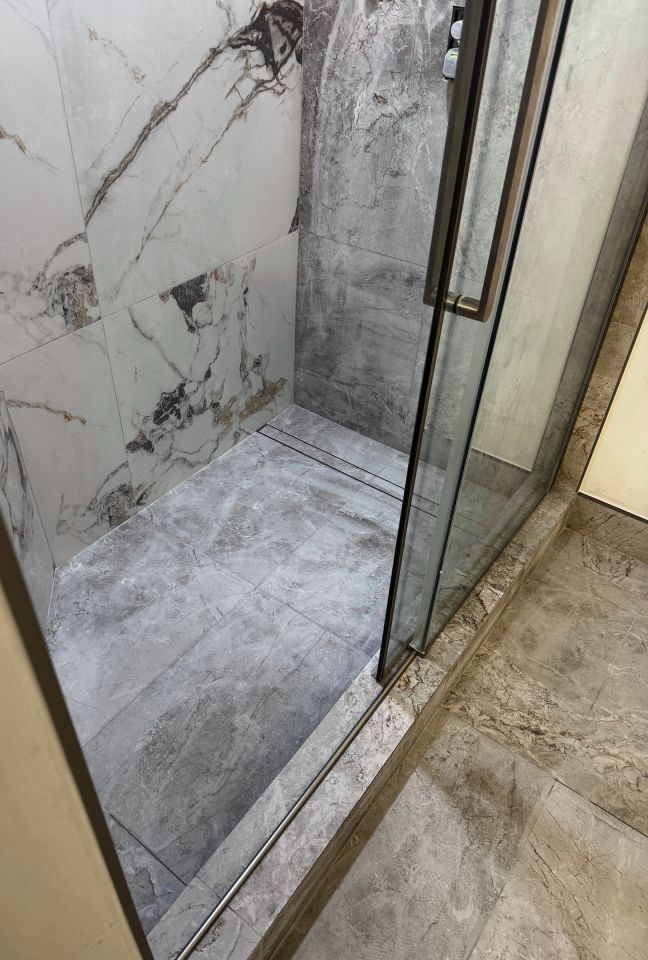
24×24 in matte 60×60 cm with 24×48 in gloss 60×120 cm
Two finishes in one shower. A levelling system keeps large tile flat, with clean, even joints.
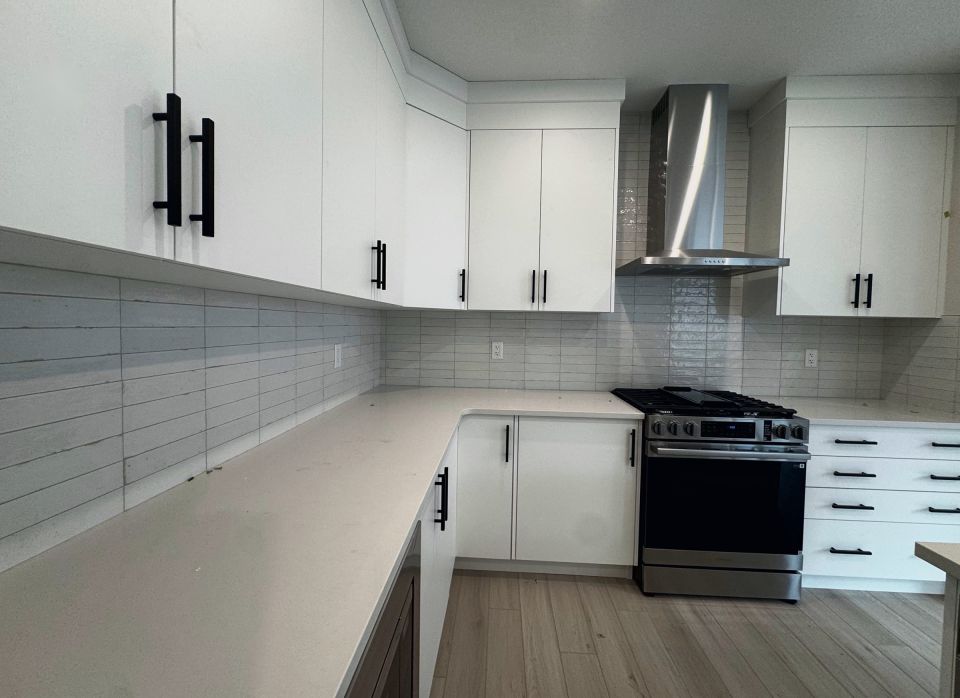
05
Glazed rectangular tile from the counter to the upper cabinets, and up behind the range hood.
06, a shower renovation

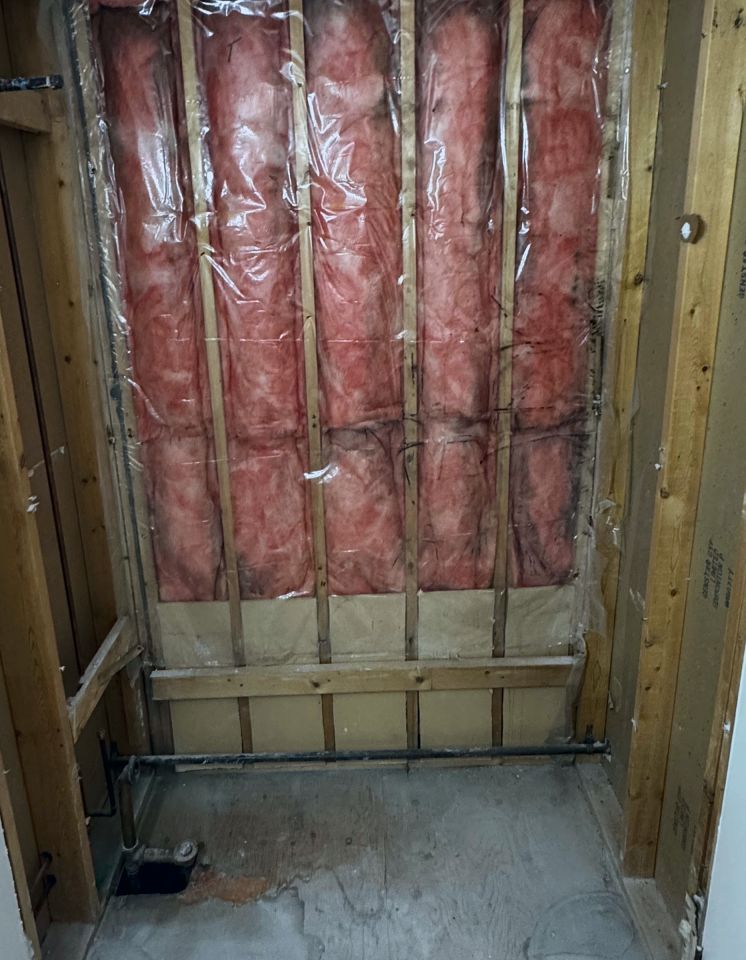
The old shower came out completely. The walls were rebuilt with Kerdi-Board, the floor was prepared for a dry-pack slope, and the room was finished in tile.
12×24 in tile 30×60 cm with 2×2 in mosaic floor 5×5 cm
Services
Complete renovations, including demolition.
Wood framing and drywall to build the base for new tile.
Built from scratch, then fully tiled.
Floors and walls, before any tile goes up.
Concealed shower drains with a tile-insert grate.
Dry pack or Schluter Kerdi sloped shower tray.
Bathrooms, entries, laundry rooms, elevators, hallways, lobbies and commercial projects.
Showers, bathrooms, fireplaces, feature walls, kitchens, lobbies and commercial projects.
Tile carried overhead for a fully wrapped shower.
Clean edges with no visible trim.
Behind the tile
Old finishes come out, so the structure can be seen and made right.
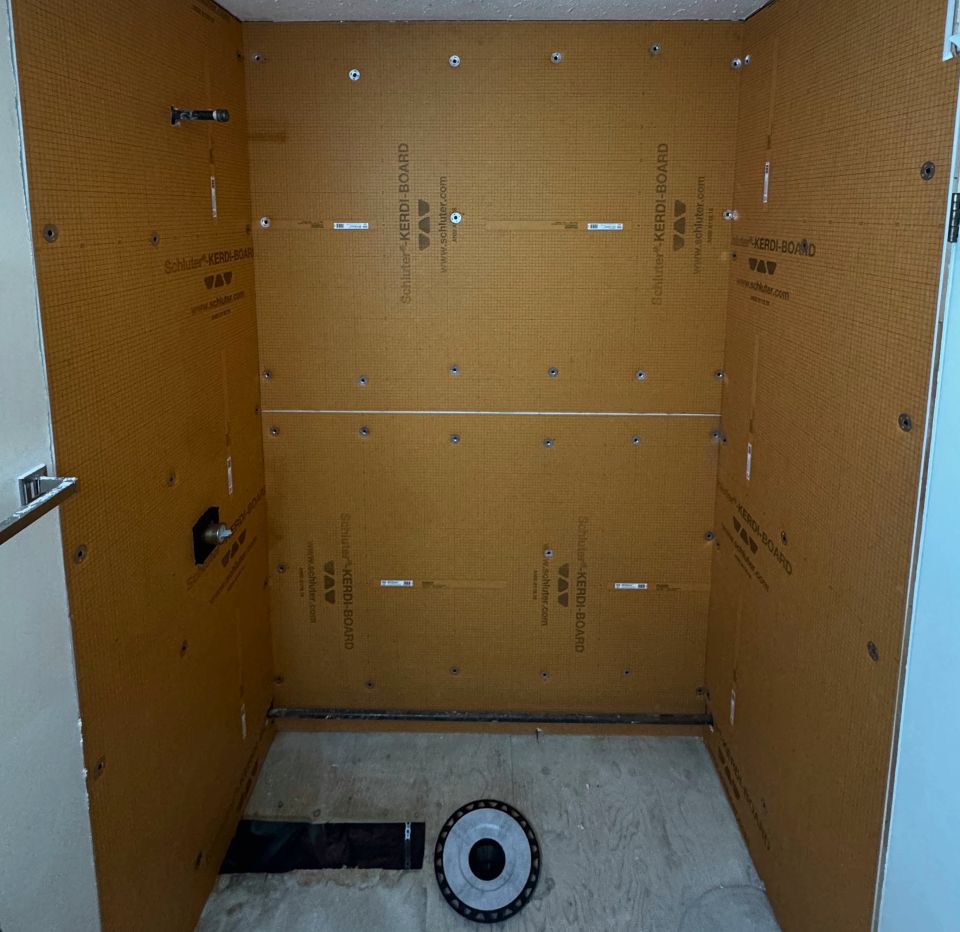
Walls and floor are sealed before the first tile is set.
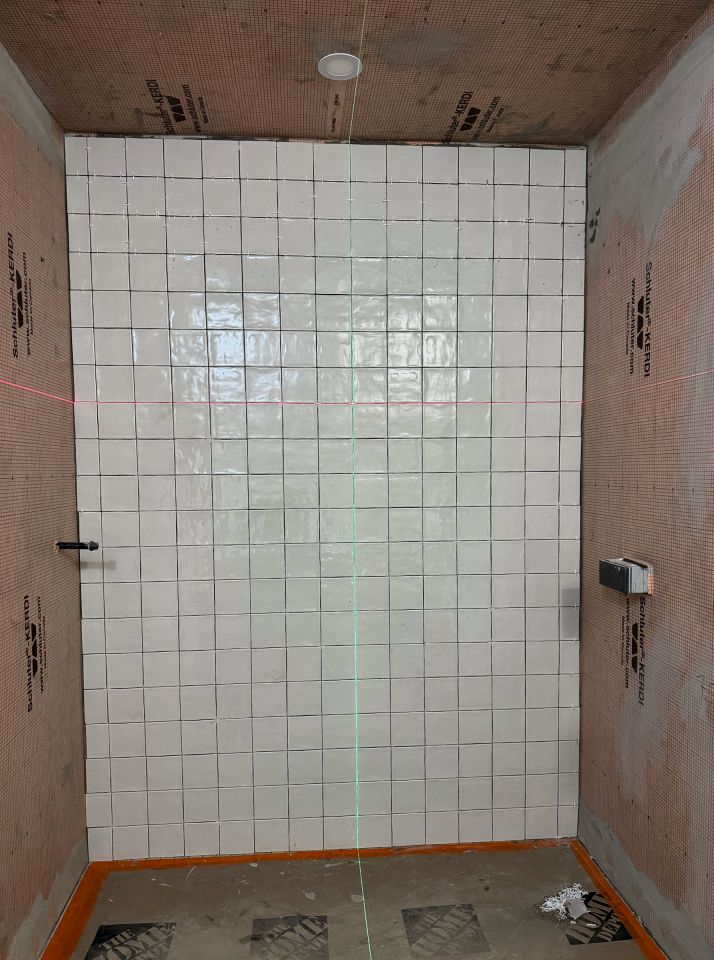
A laser sets the layout, course by course.
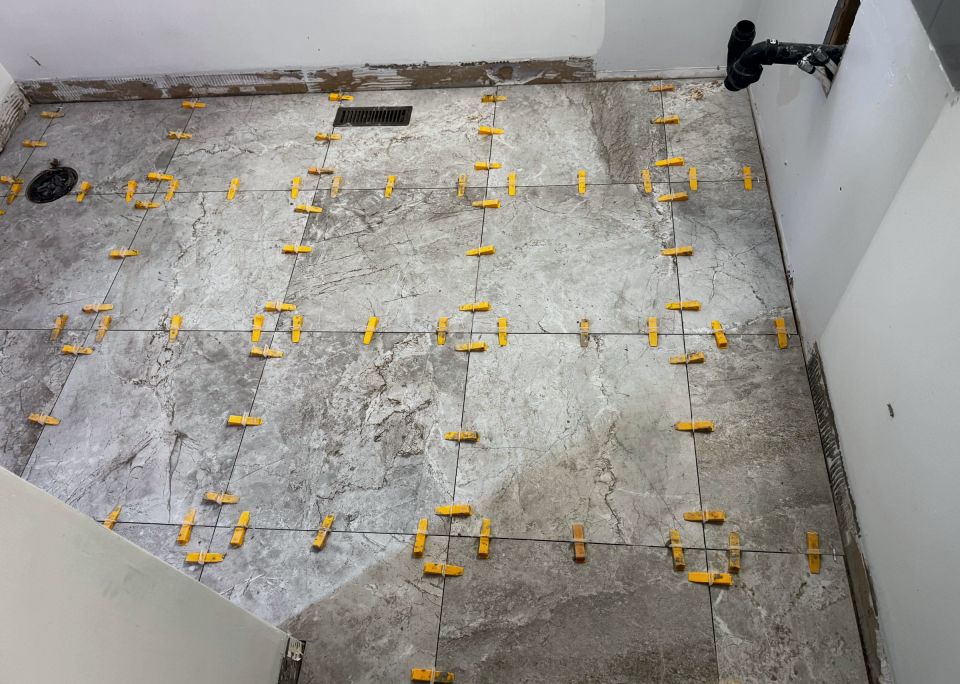
A levelling system holds large tile flat while it cures.
Online estimate
Enter what you know. Leave the rest at zero.
Layout planner
Enter your room, choose a tile and pattern, then drag the layout into place. The planner flags narrow cuts and can find the cleanest position for you.
Open the plannerRequest a quote
Add photos of the space and the material you have in mind.